
Guides/Getting started
Connect your AI tool
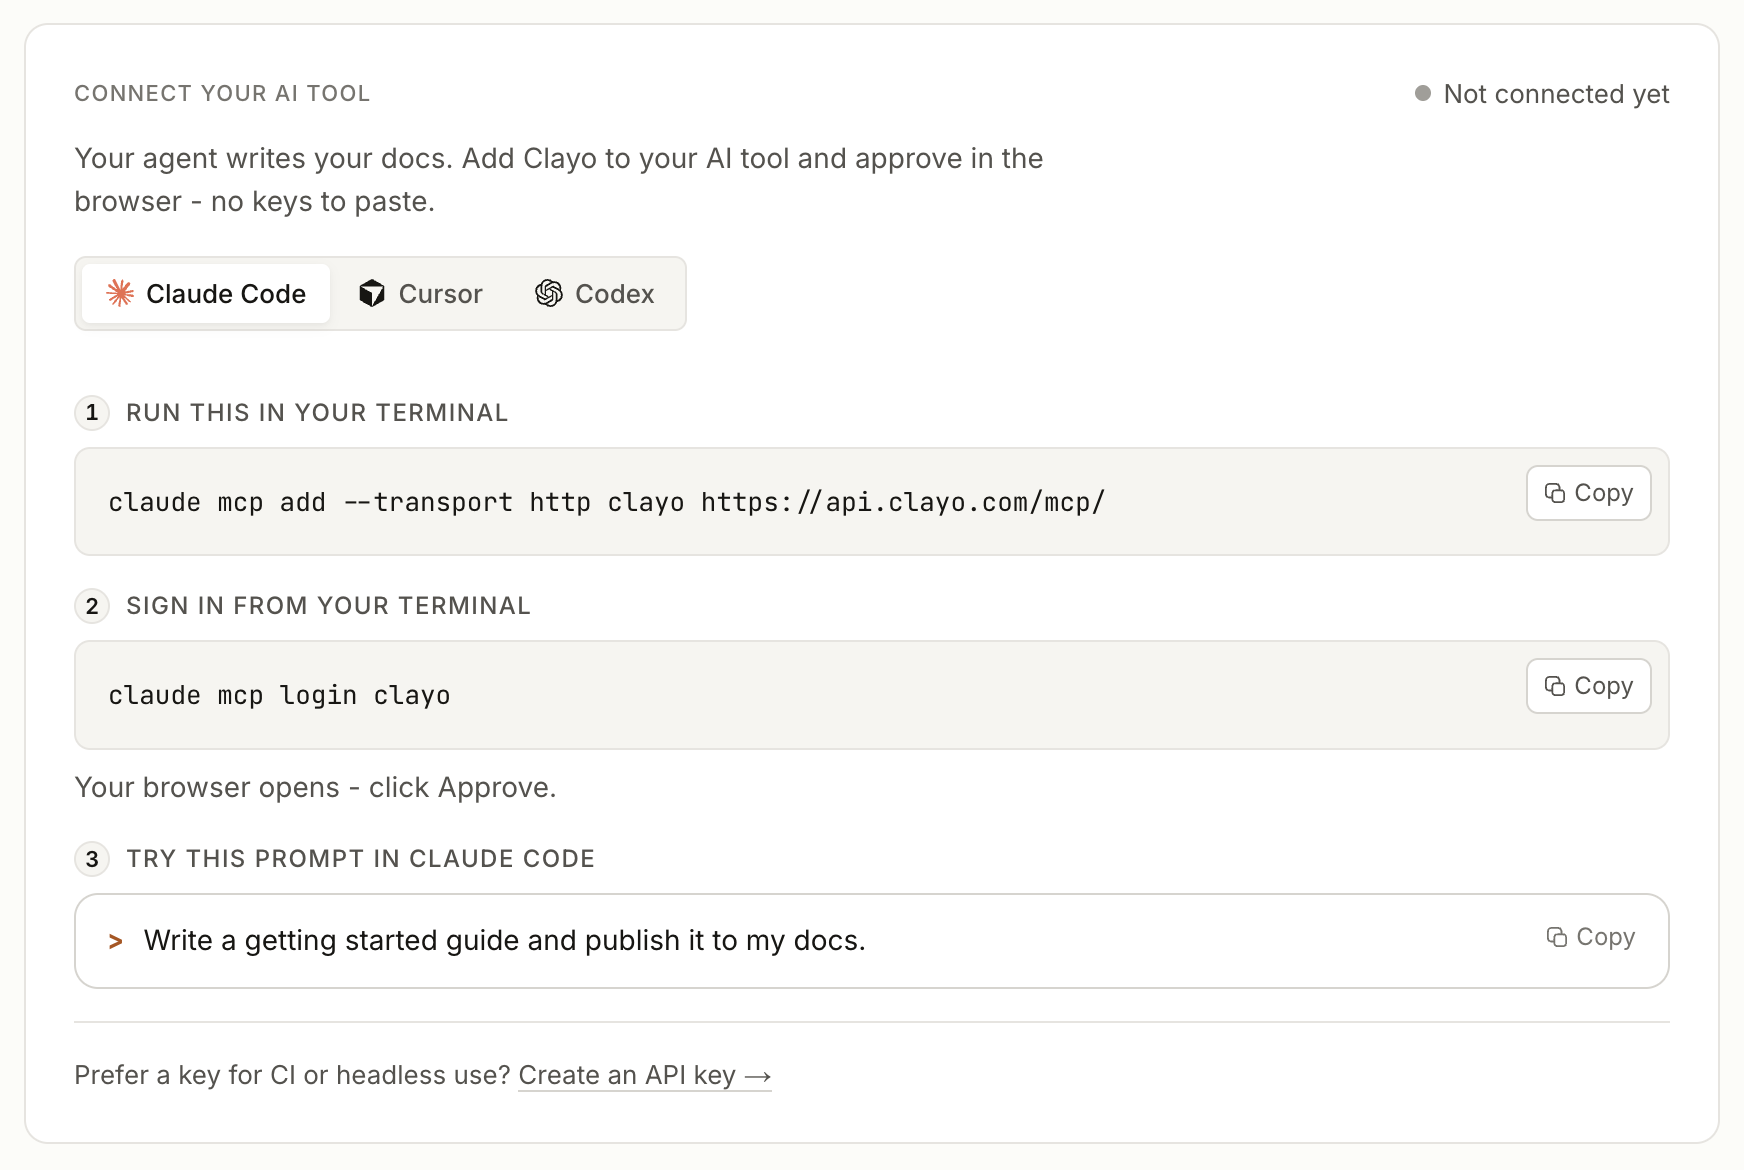
Your coding agent writes to Clayo through an MCP server at https://api.clayo.com/mcp/. Connecting takes two steps: add the server to your tool, then approve access in your browser. The Home page in Clayo shows the same instructions with copy buttons, plus a live chip that flips to Connected after your agent's first call.
Install
Run these two commands in your terminal:
claude mcp add --transport http clayo https://api.clayo.com/mcp/
claude mcp login clayo
The second command opens your browser to approve access. Click Allow and you are done.
The fastest path is the Add to Cursor button on your Clayo Home page, which opens Cursor and installs the server in one click.
To configure it by hand instead, add this to .cursor/mcp.json in your project (or your global Cursor MCP settings):
{
  "mcpServers": {
    "clayo": {
      "url": "https://api.clayo.com/mcp/"
    }
  }
}
Cursor will prompt you to authenticate the clayo server; approve access in the browser window it opens.
Run these two commands in your terminal:
codex mcp add clayo --url https://api.clayo.com/mcp/
codex mcp login clayo
In the Codex app, you can do the same from Settings: open MCP servers, choose Add server, pick Streamable HTTP, enter the URL, and authenticate.
What approving does
Clayo uses OAuth to connect your tool: no keys to copy, nothing secret in your config files. The browser page shows what you are connecting and asks you to allow or deny. After you approve, the connection renews itself while you keep using it. If it sits unused for 90 days, or you revoke it, the tool asks you to sign in again.
You stay in control. Every connected tool is listed under Account, then Keys, with when it was last used; revoking one signs that tool out everywhere. See Manage your account.
Each teammate connects their own tool with their own account. Changes made through an agent are attributed to the person who connected it, which keeps the activity feed honest. See Roles and permissions.
Try it
Ask your agent something small:
List my Clayo projects.
If it answers with your project name, you are connected. Then give it something real:
Write a getting started guide for my product and publish it to my docs.
Running in CI or headless?
OAuth needs a browser. For scripts, CI jobs, or servers, create an API key instead: go to Account, then Keys, and create a named key. It is shown once, and works anywhere a bearer token does. Treat it like a password.